When I first started to dive into QuickBooks® Online Advanced, the power of accelerated invoicing was lost on me. Initially, I was confused about the true value this would provide to my clients, since we had already established memorized transactions for them. Then, I started to think about all of the clients we service who tend to cycle through customers rather quickly. QuickBooks Online Advanced’s unique accelerated invoicing feature provides an elegant solution to this and other issues.
Part 1 of this two-part user guide will:
- Compare recurring transactions and Advanced’s new accelerated invoicing.
- Explain the benefits of accelerated invoicing.
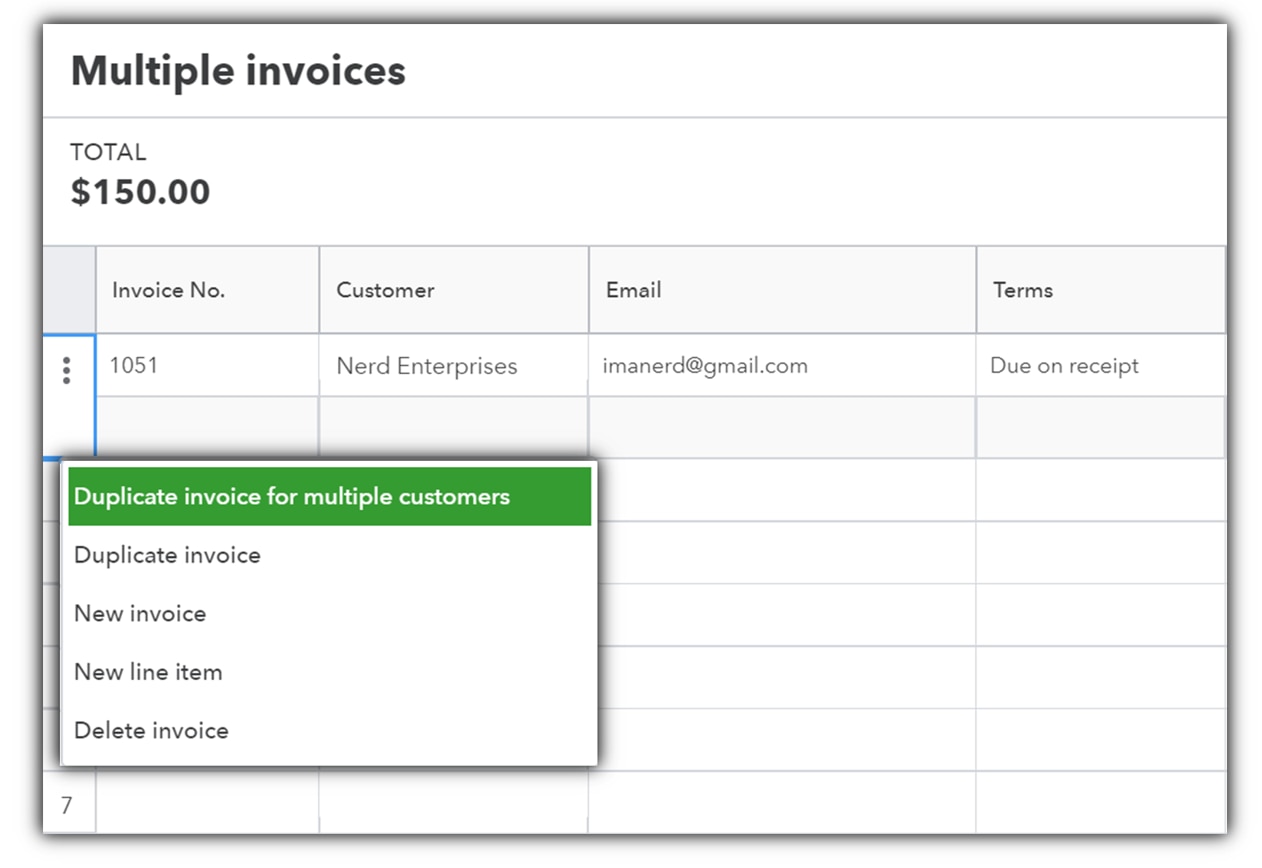
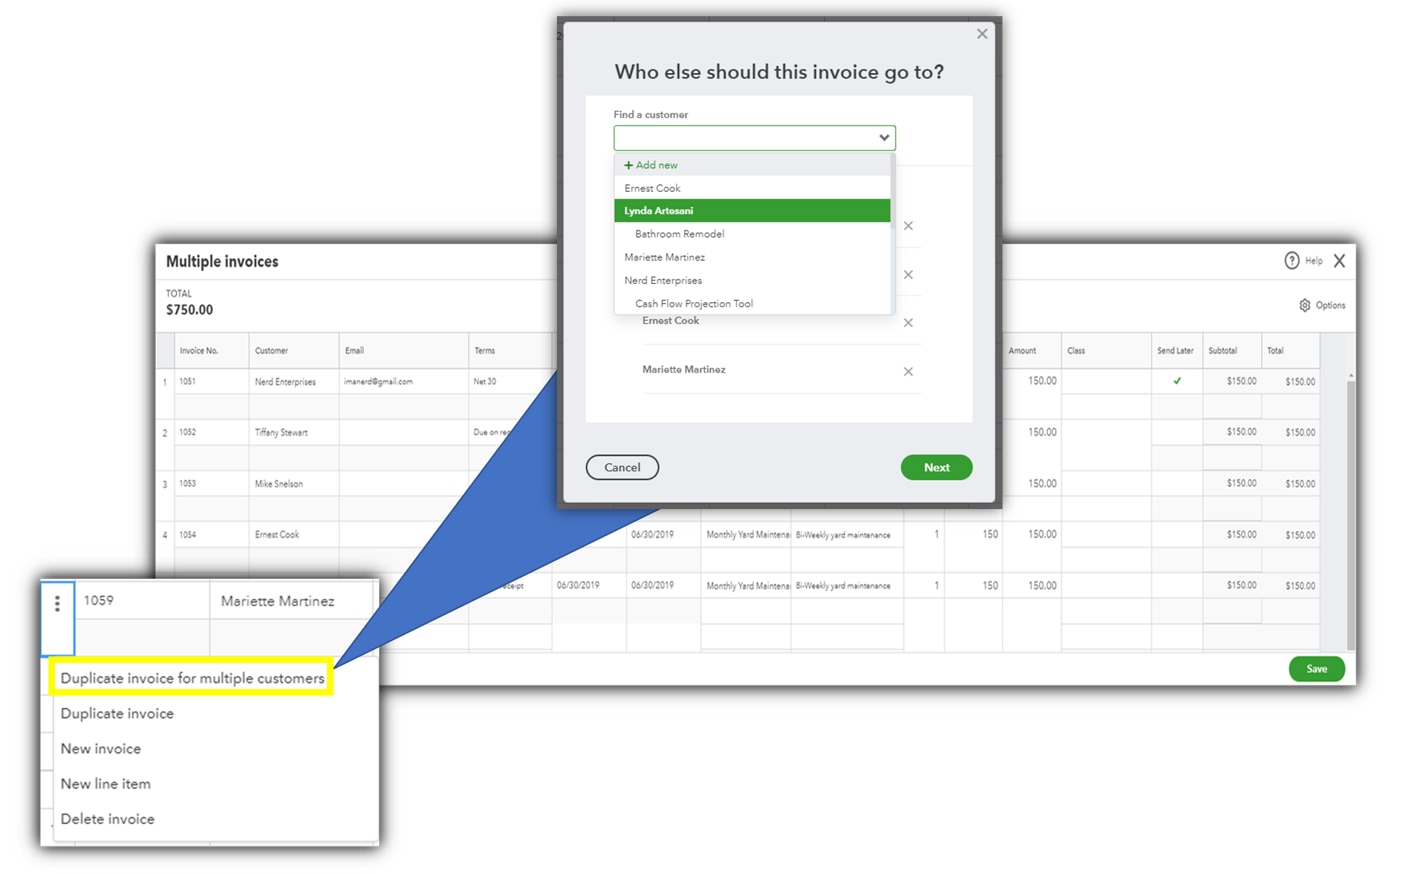
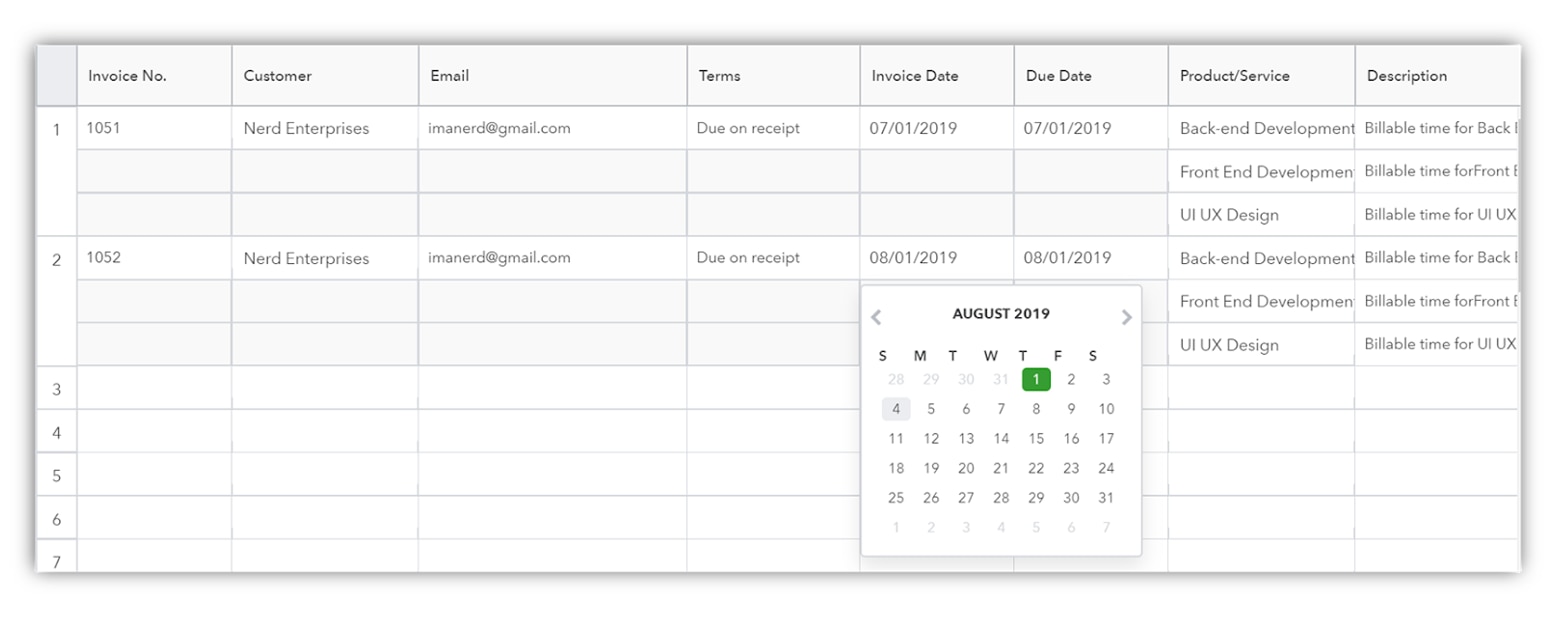
- Show how to access the new Multiple Invoice feature.
- Discuss what information is required and what information is optional.
Recurring transactions
QuickBooks Online Advanced allows its users to transform a transaction into a memorized transaction for future use. These transactions can then be used whenever the need arises, they can be scheduled to provide a reminder or set for automatic processing. This feature is extremely useful for businesses that have a recurring charge that does not change in price but may vary from customer to customer.
Companies that provide professional services, such as accountants, often use a recurring sales receipt to automate their monthly billing. Such a process requires the QuickBooks Online Advanced user to make a unique invoice per client for it to work correctly. Even if the accountant had numerous clients that had identical billing, recurring transactions require a specific customer name be assigned to each transaction. Depending on how often your client list changes it may be just as time consuming to maintain the recurring transactions each month compared to the time spent using Advanced’s new accelerated invoicing feature.
Accelerated invoicing
While recurring transactions make it possible to automate certain aspects of your invoicing, it is limited by its need for a customer name before saving. Accelerated invoicing helps fill in this gap very nicely by making it possible to invoice multiple companies all at the same time.
QuickBooks Online Advanced provides two different methods to quickly create invoices:
- Manually creating multiple invoices
- CSV import
This guide deals with the first of these two methods, manually entering multiple invoices. Find more on the second, CSV import method, in Part 2 of this guide.
Multiple Invoices Feature
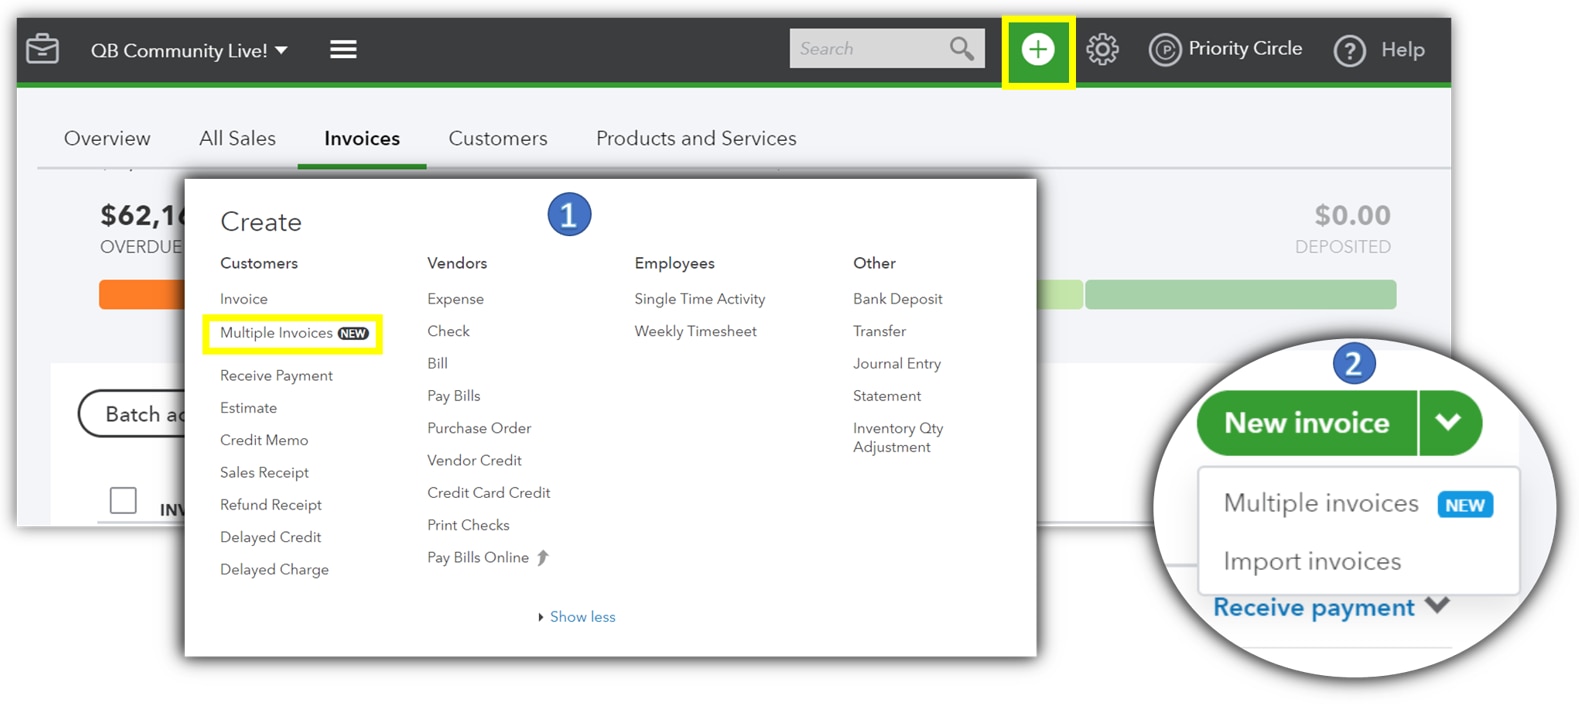
There are two different methods to access this new feature within QuickBooks Online Advanced.
Option 1:
- Select the “+” sign located on the top toolbar.
- Select Multiple Invoices under the left column labeled “Customers.”
Option 2:
- Select Sales from the left side menu.
- Select Invoices from the top menu in the Sales section.
- Click on the drop-down arrow next to New Invoice.
- Select Multiple Invoices on the submenu.

