QuickBooks® Online Advanced is Intuit’s latest cloud-based offering designed for fast-growing, complex businesses, allowing my clients to grow and remain in the QuickBooks Online world. I love this because it means I don’t have to go out and learn a new accounting product when my customers start to expand.
This article is is Part 2 of a 3-part series that describes how to use QuickBooks Online Advanced for real estate property management. Part 1 is an overview of Advanced and who it’s for, plus details about how to get set up to work with these kinds of companies. When part 3 is published, the URL will be included below:
Prefer videos to articles? I cover all three parts of this series in this video.
Editor’s note: Find out more about Seth David’s course, QuickBooks Online Advanced for Property Management.
Entering transactions for property management in QuickBooks Online Advanced
In this article, we’re going to look at the following areas:
1. Custom fields
2. Moving in – new tenants
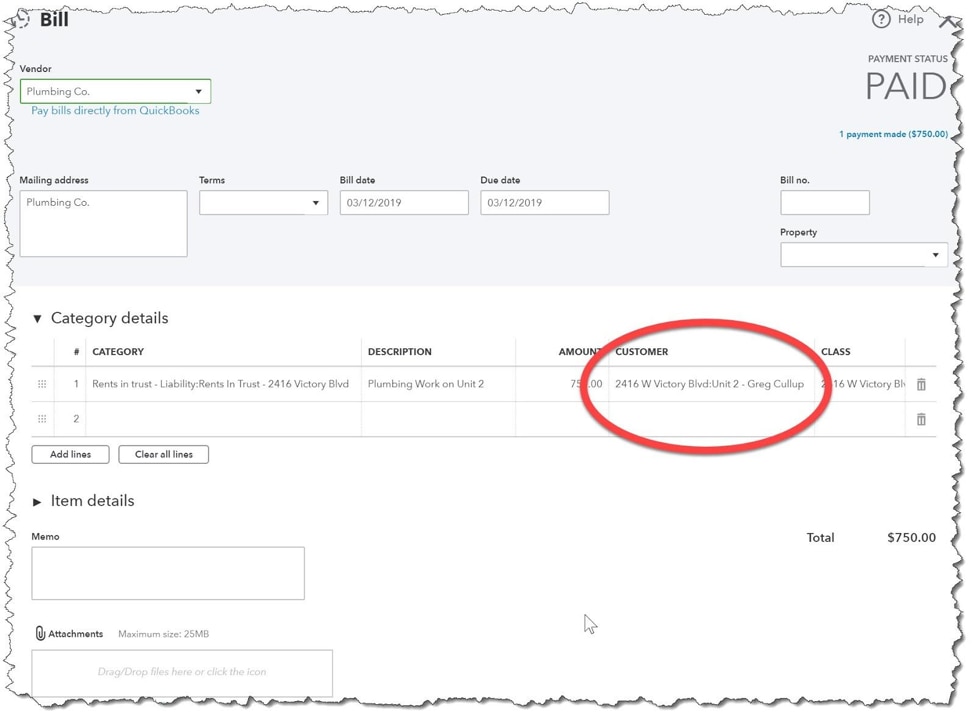
3. Tracking expenses assigned to units
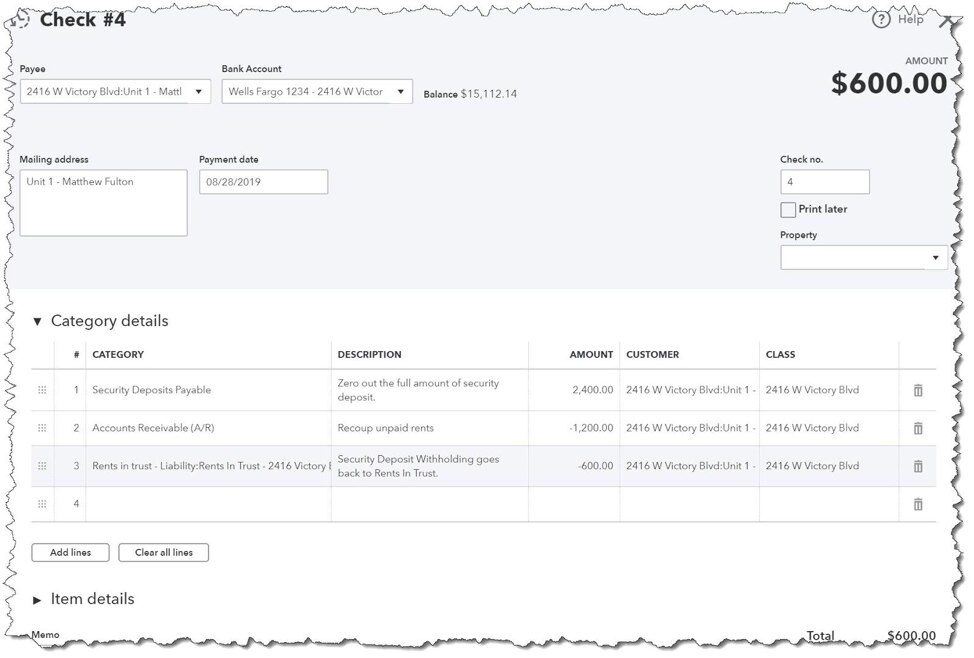
4. Moving out
Custom Fields
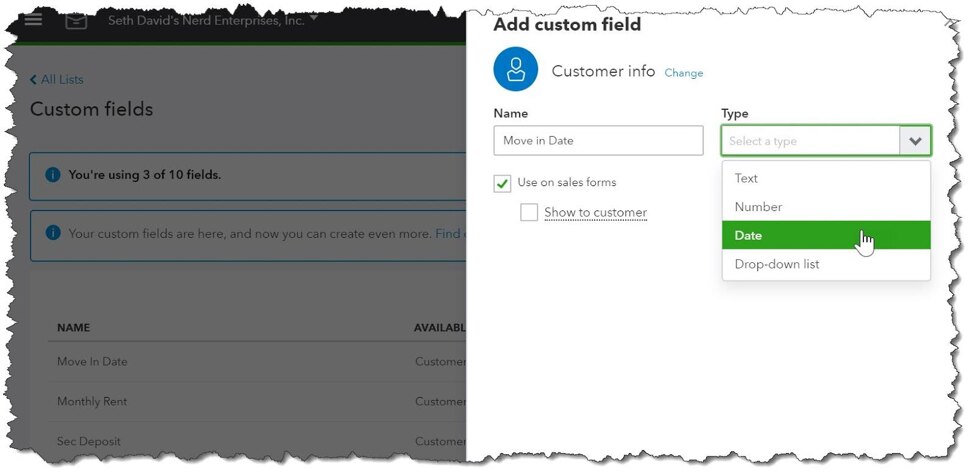
We’ll want to set up three custom fields to start:
- Move in date
- Monthly rent amount
- Security deposit
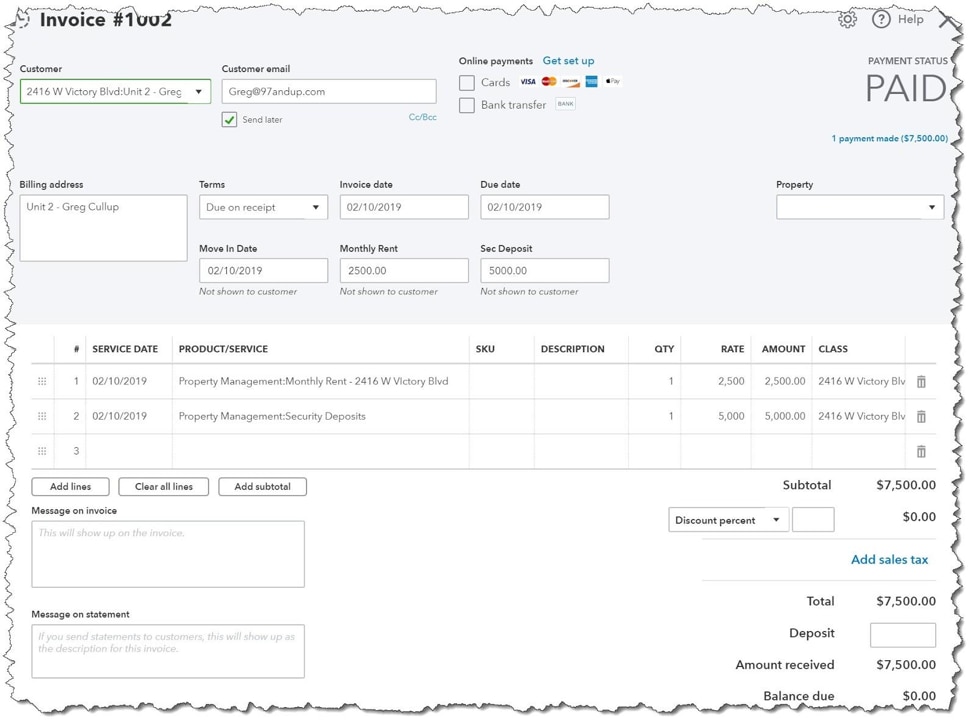
There are two general types of custom fields you can set up; Customer Info and Transaction Info. The format of each field should be straightforward. We have a “Type” for Date and Amount. You have other types as well. Think about how a drop-down list might be useful. The monthly rent amount and security deposit will seem redundant because they will be in the transactions themselves. The purpose of these custom fields is for reporting.

